
¡Bienvenidos al blog Geek! En este artículo, te enseñaremos cómo eliminar arrugas en Photoshop de manera fácil y rápida. Descubre los trucos y técnicas para hacer que tus fotos luzcan perfectas. No pierdas tiempo buscando cremas antiarrugas, Photoshop es tu aliado para lograr una apariencia impecable. ¡Sigue leyendo para aprender más!
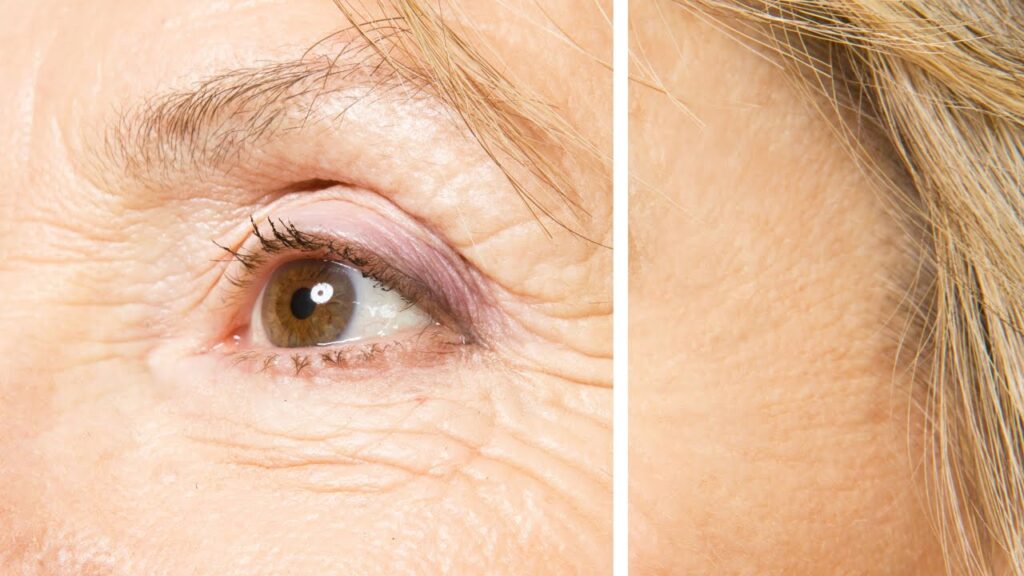
How to Remove Wrinkles in Photoshop: A Guide to Perfecting Your Digital Images
How to Remove Wrinkles in Photoshop: A Guide to Perfecting Your Digital Images
Wrinkles are a common issue when it comes to digital images. Whether you’re working with portraits or product photography, removing wrinkles can greatly enhance the overall quality of your images. In this guide, we will walk you through the process of removing wrinkles in Photoshop.
Step 1: Open the Image in Photoshop
To begin, open the image you want to work on in Photoshop. You can do this by selecting “File” and then “Open” from the menu bar, or by simply dragging and dropping the image into the Photoshop workspace.
Step 2: Duplicate the Background Layer
Before we start editing, it’s always a good practice to duplicate the background layer. This will allow us to make non-destructive edits and preserve the original image. To do this, right-click on the background layer in the Layers panel and select “Duplicate Layer.”
Step 3: Use the Spot Healing Brush Tool
The Spot Healing Brush Tool is the perfect tool for removing wrinkles. Select the tool from the toolbar (shortcut: J) and make sure the “Content-Aware” option is selected in the top menu. Simply brush over the wrinkles and let Photoshop do its magic. The tool will automatically sample nearby pixels and blend them seamlessly to remove the wrinkles.
Step 4: Fine-tune with the Healing Brush Tool
Sometimes the Spot Healing Brush Tool may not give you the desired results, especially for more complex wrinkles. In such cases, you can switch to the Healing Brush Tool (shortcut: J) and manually sample areas that closely match the color and texture of the surrounding skin. Then, carefully paint over the wrinkles to blend them in.
Step 5: Reduce Opacity if Necessary
If the edited area appears too smooth or unnatural, you can reduce the opacity of the layer to make it look more realistic. Simply adjust the opacity slider in the Layers panel to your liking.
Step 6: Save and Export
Once you’re satisfied with the result, save your image in the desired format. If you want to preserve the layers and editability, save it as a PSD file. Otherwise, you can export it as a JPEG or PNG for sharing or printing.
Conclusion
Removing wrinkles in Photoshop can greatly improve the quality and professionalism of your digital images. By following these steps and using the right tools, you can easily achieve flawless results. Experiment with different techniques and don’t be afraid to practice. Happy editing!
Note: Remember to always work on a duplicate layer and save the original image separately to avoid any irreversible changes or loss of data.
Frequent Questions
How can I remove wrinkles in Photoshop?
To remove wrinkles in Photoshop, use the Spot Healing Brush Tool or the Clone Stamp Tool. These tools can help you to clone or heal the areas with wrinkles by sampling nearby smooth skin.
What tools or techniques can I use in Photoshop to eliminate wrinkles?
In Photoshop, you can use the Spot Healing Brush tool or the Clone Stamp tool to eliminate wrinkles.
Are there any specific tutorials or resources available online for removing wrinkles in Photoshop?
Yes, there are several specific tutorials and resources available online for removing wrinkles in Photoshop.
In conclusion, removing wrinkles in Photoshop is a powerful and efficient way to enhance the appearance of photos and achieve a more polished look. It showcases the capabilities of modern technology in the field of image editing and demonstrates how Photoshop continues to be a valuable tool for photographers, graphic designers, and individuals seeking to improve their visual content. With its advanced retouching features and intuitive interface, Photoshop allows users to easily remove wrinkles and blemishes, resulting in stunning and flawless images. Whether for personal or professional use, Photoshop’s wrinkle removal functionality offers endless possibilities for enhancing photographs and delivering visually captivating results.

